Building a Scheduling App in Laravel 9 - part 1
Join this mini series following the build of a small project in Laravel. This project will deal scheduling of short courses!.
Join this mini series following the build of a small project in Laravel. This project will deal scheduling of short courses!.
Sometimes you get the itch to build more than just a website - the skills you gain from this help in your web building by being able to add more complex functionality to websites, or by branching out into building full scale applications.
The motivation for building this app came from a problem at work. We needed to schedule some short course bootcamps, but different levels of users needed different levels of functionality. For example, our learners only needed to be able to see the schedule, whereas our trainers needed to be able to sign up their name to a session.
We had tried various tools, starting with Airtable, Google Sheets and Monday.com. All of these tools did different things well, but this simple scheduling issue could end up impacting other areas of the business, so the ability to enable us to extend the system was key.
I decided to use Laravel to build the application. I had used it briefly in a project before and was keen to dive further into it. I wanted to use Vue to build the frontend, however upon research, I felt to get to MVP level I felt like using the blade templating engine provided by Laravel would allow me to get my application up quicker. On the roadmap would be the conversion of the app to using Vue as a frontend and a Laravel API backend. Finishing the tech stack would be a MYSQL database and Tailwind for CSS. Vite would be the build tool as the new default option for Laravel.
For the first iteration of the project, I am assuming just two types of user, an admin (me) and the trainers. The following user stories apply for this iteration.
As an admin, I need to see all pages in the application for manage all the components
As an admin I need to be able to add, edit and delete trainers, courses, cohorts and sessions.
As an admin I need to be able to create multiple instances of the same course, with a different cohort each time. This is so I can schedule different instances of the course and their sessions on different dates.
As a trainer I need to be able to see all the sessions from the courses I teach on, so that if I get a query from a learner I can answer that query.
As a trainer I need a dashboard to give me details of my upcoming sessions.
As a trainer I need a google calendar invite with the session name, cohort name and date and time of the session.
I would make more user stories in the future for different features of the application. I have included a roadmap and the bottom of this article. As I add articles in this series I will link up the roadmap to the new features.
I have had a few false starts before with building applications, so Laravel was already installed globally on my computer. So I opened my code editor (VSCode) and opened a new terminal, creating a new directory using the mkdir command, and installing Laravel in there using the Laravel new command. Below is an example of the structure of the app when installed (a different application image was use, but you get the idea!)

This proved to be particularly difficult when it really shouldn't have been... Using MySQL on a chromebook isn't ideal anyway, but is essentially just using it in a linux container, so no excuses. But i did lose my password from the previous time I'd done this, and found it a real struggle to change it. Once I had managed to do this after a couple of hours of trial and error, the initial migration wouldn't authenticate. My username, password and database name were all correct.
After a couple more hours of searching I came across a snippet at the bottom of a stackoverflow Q & A that stated using localhost instead of the IP address in the .env file would fix the problem. It did, but it caused another problem with authentication which I still haven't fixed....
What a pain! To get round this problem, I set up a remote database on a server I host my websites with, which took around an hour of research into remote access, and we're now up and running with all the framework required to start my project.
I set up the database access in the .env file and I was ready to go!
Based on the user stories above, I came up with a rough set of requirements - these were open to change as the application developed and more requirements were thought of.
I tend to work in a roughly Agile way, and wanted to get to MVP status pretty quickly, so my requirements were fairly simple - I wanted to make a CRUD application that could:
The CRUD functionality is simple, especially in Laravel. Create a migration, model and controller for each and decide what fields you want in your database.
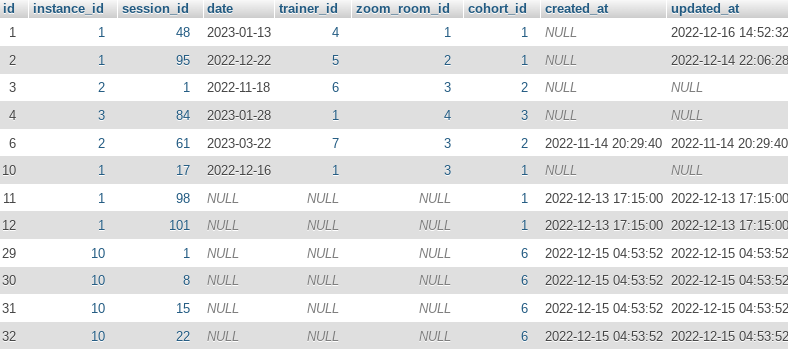
The tougher bit was deciding how to store the data for the sessions of each instance. I decided on an intermediate/pivot table in my MYSQL database called instance_sessions - where each instance would have an id, each session would have an id and that combination would have to be unique, so the same session couldn't be added twice.

As you can see, some fields had to be nullable, as these were where we would have missing pieces of data. For example, we wouldn't always know what trainer was taking which session, or the date the session was taking place on.
Coming soon
Coming soon
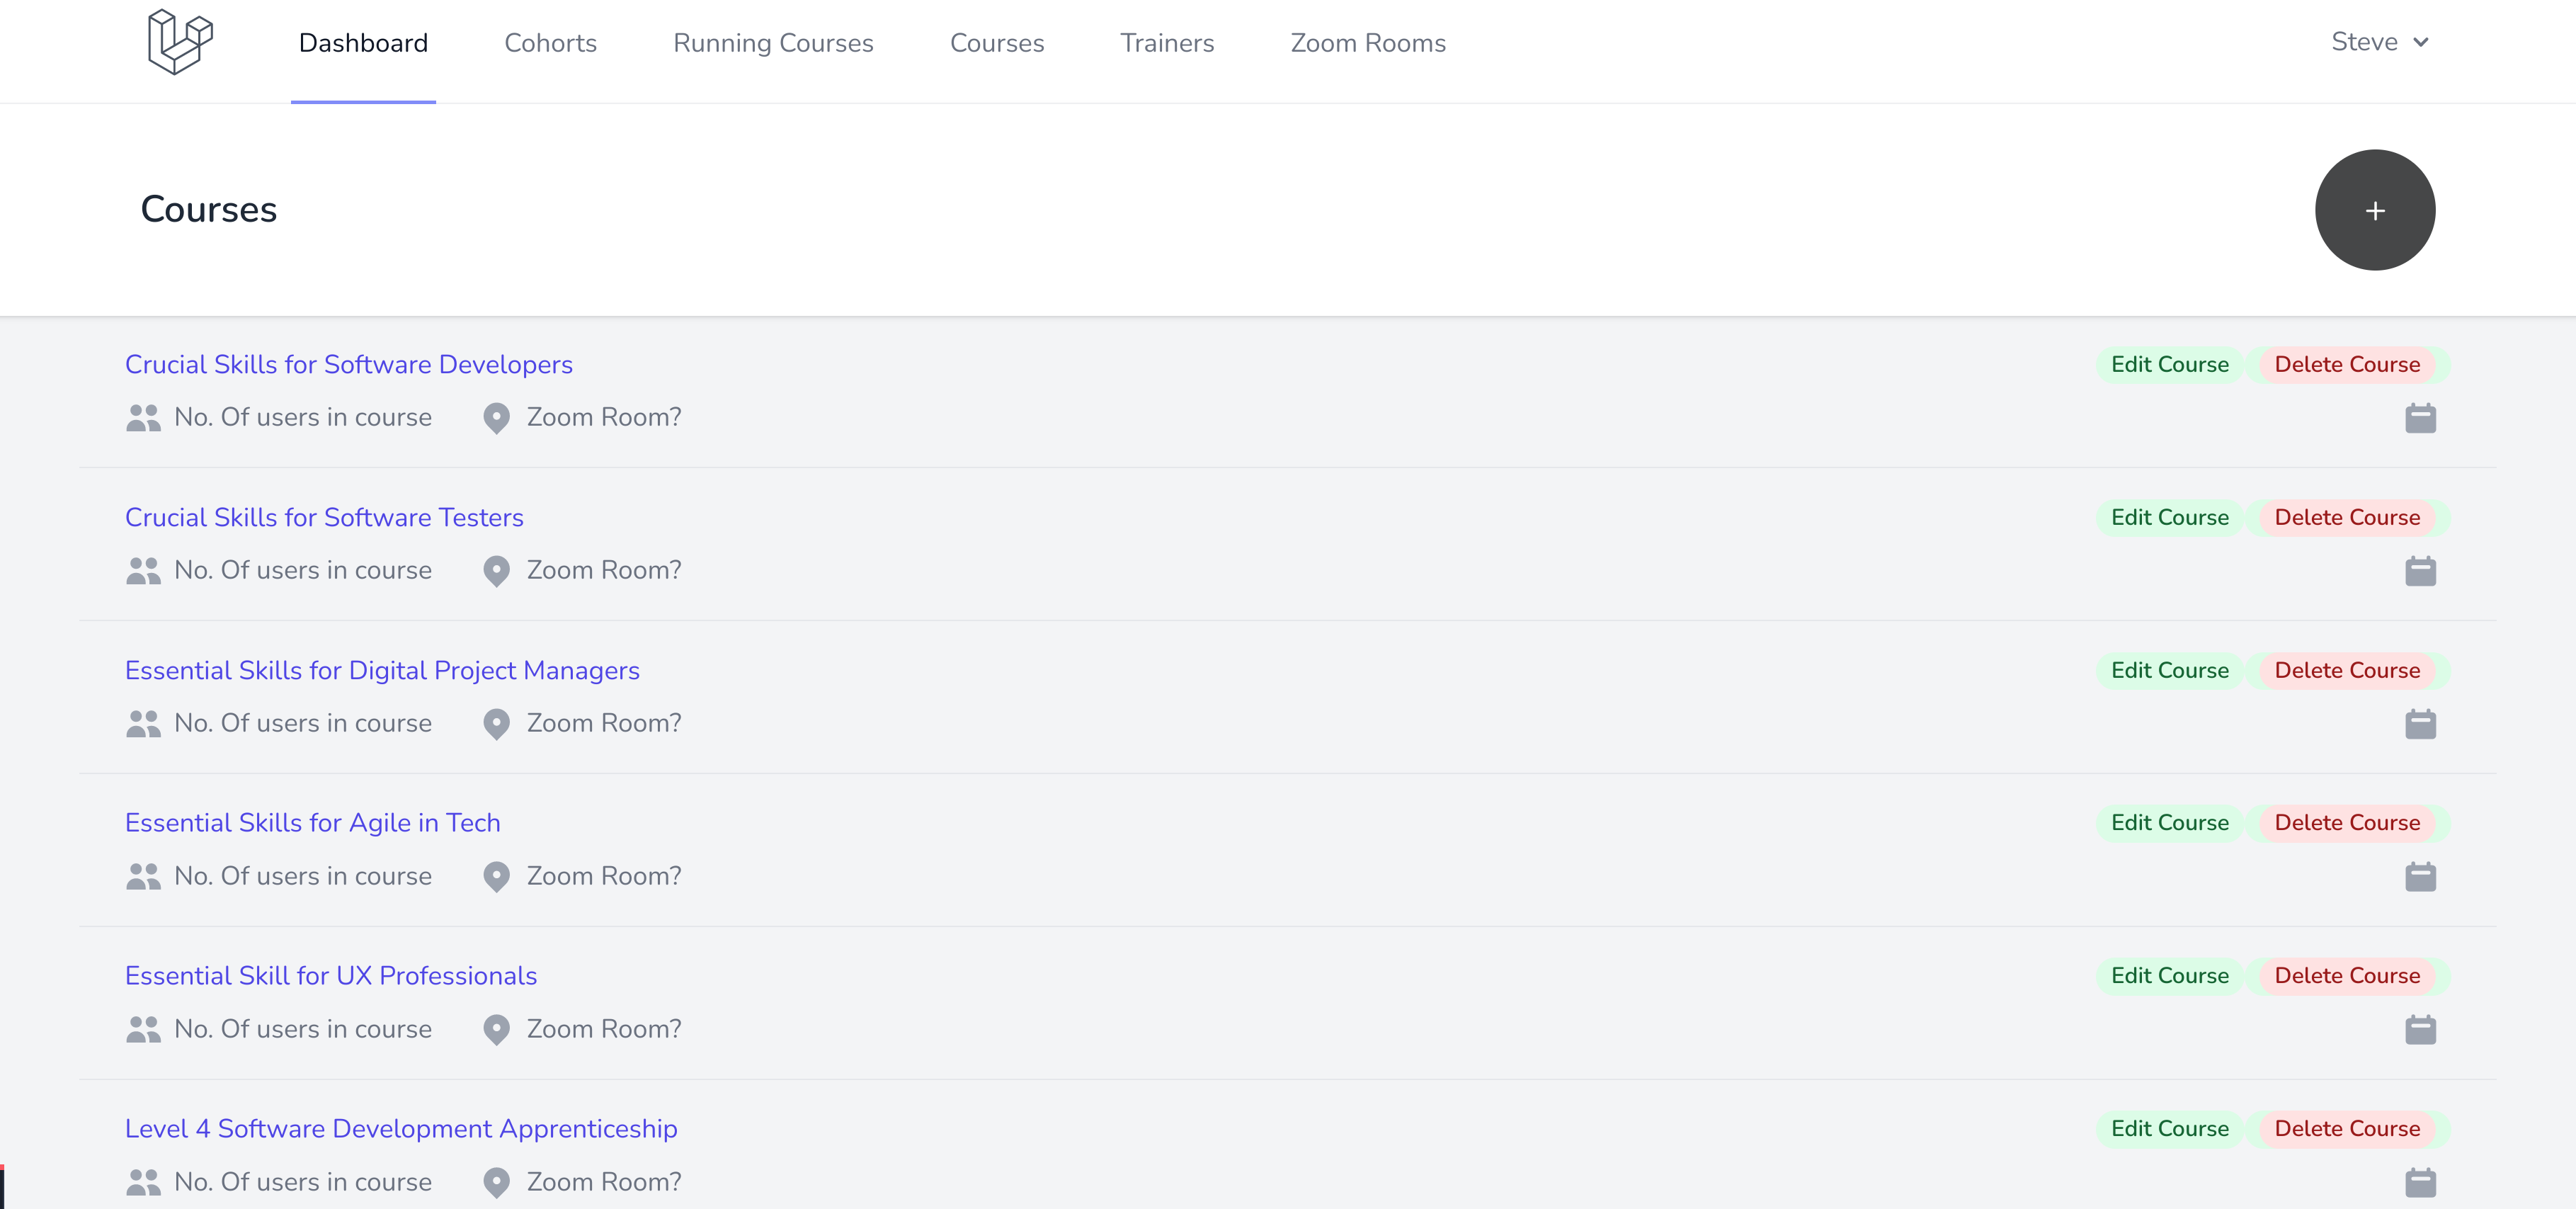
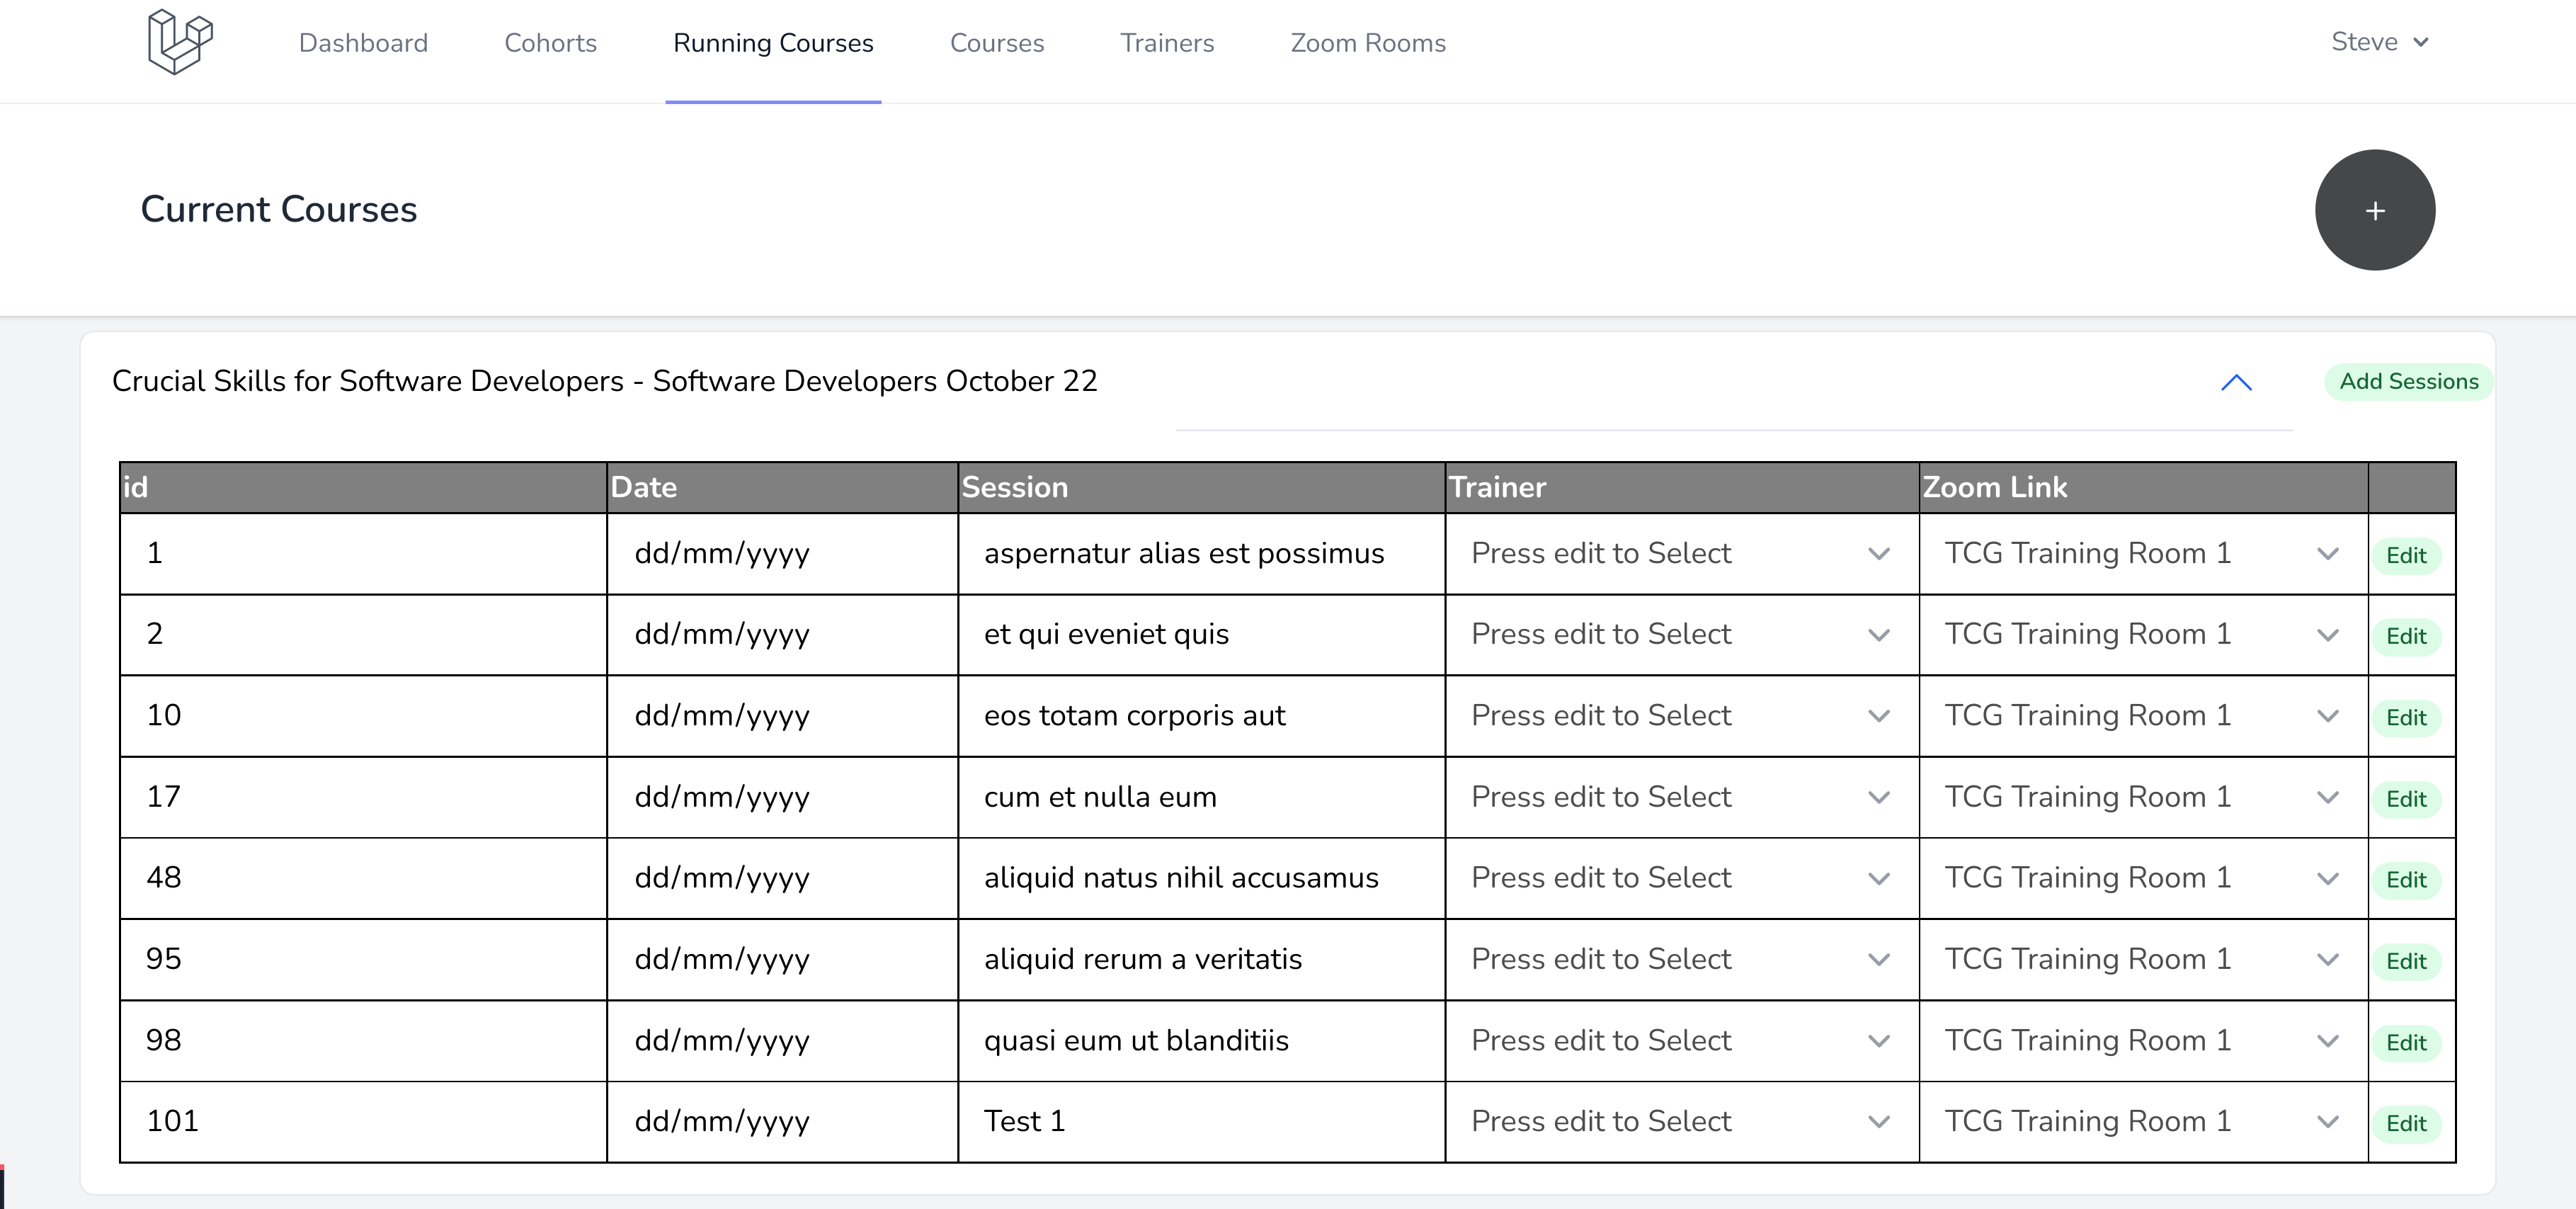
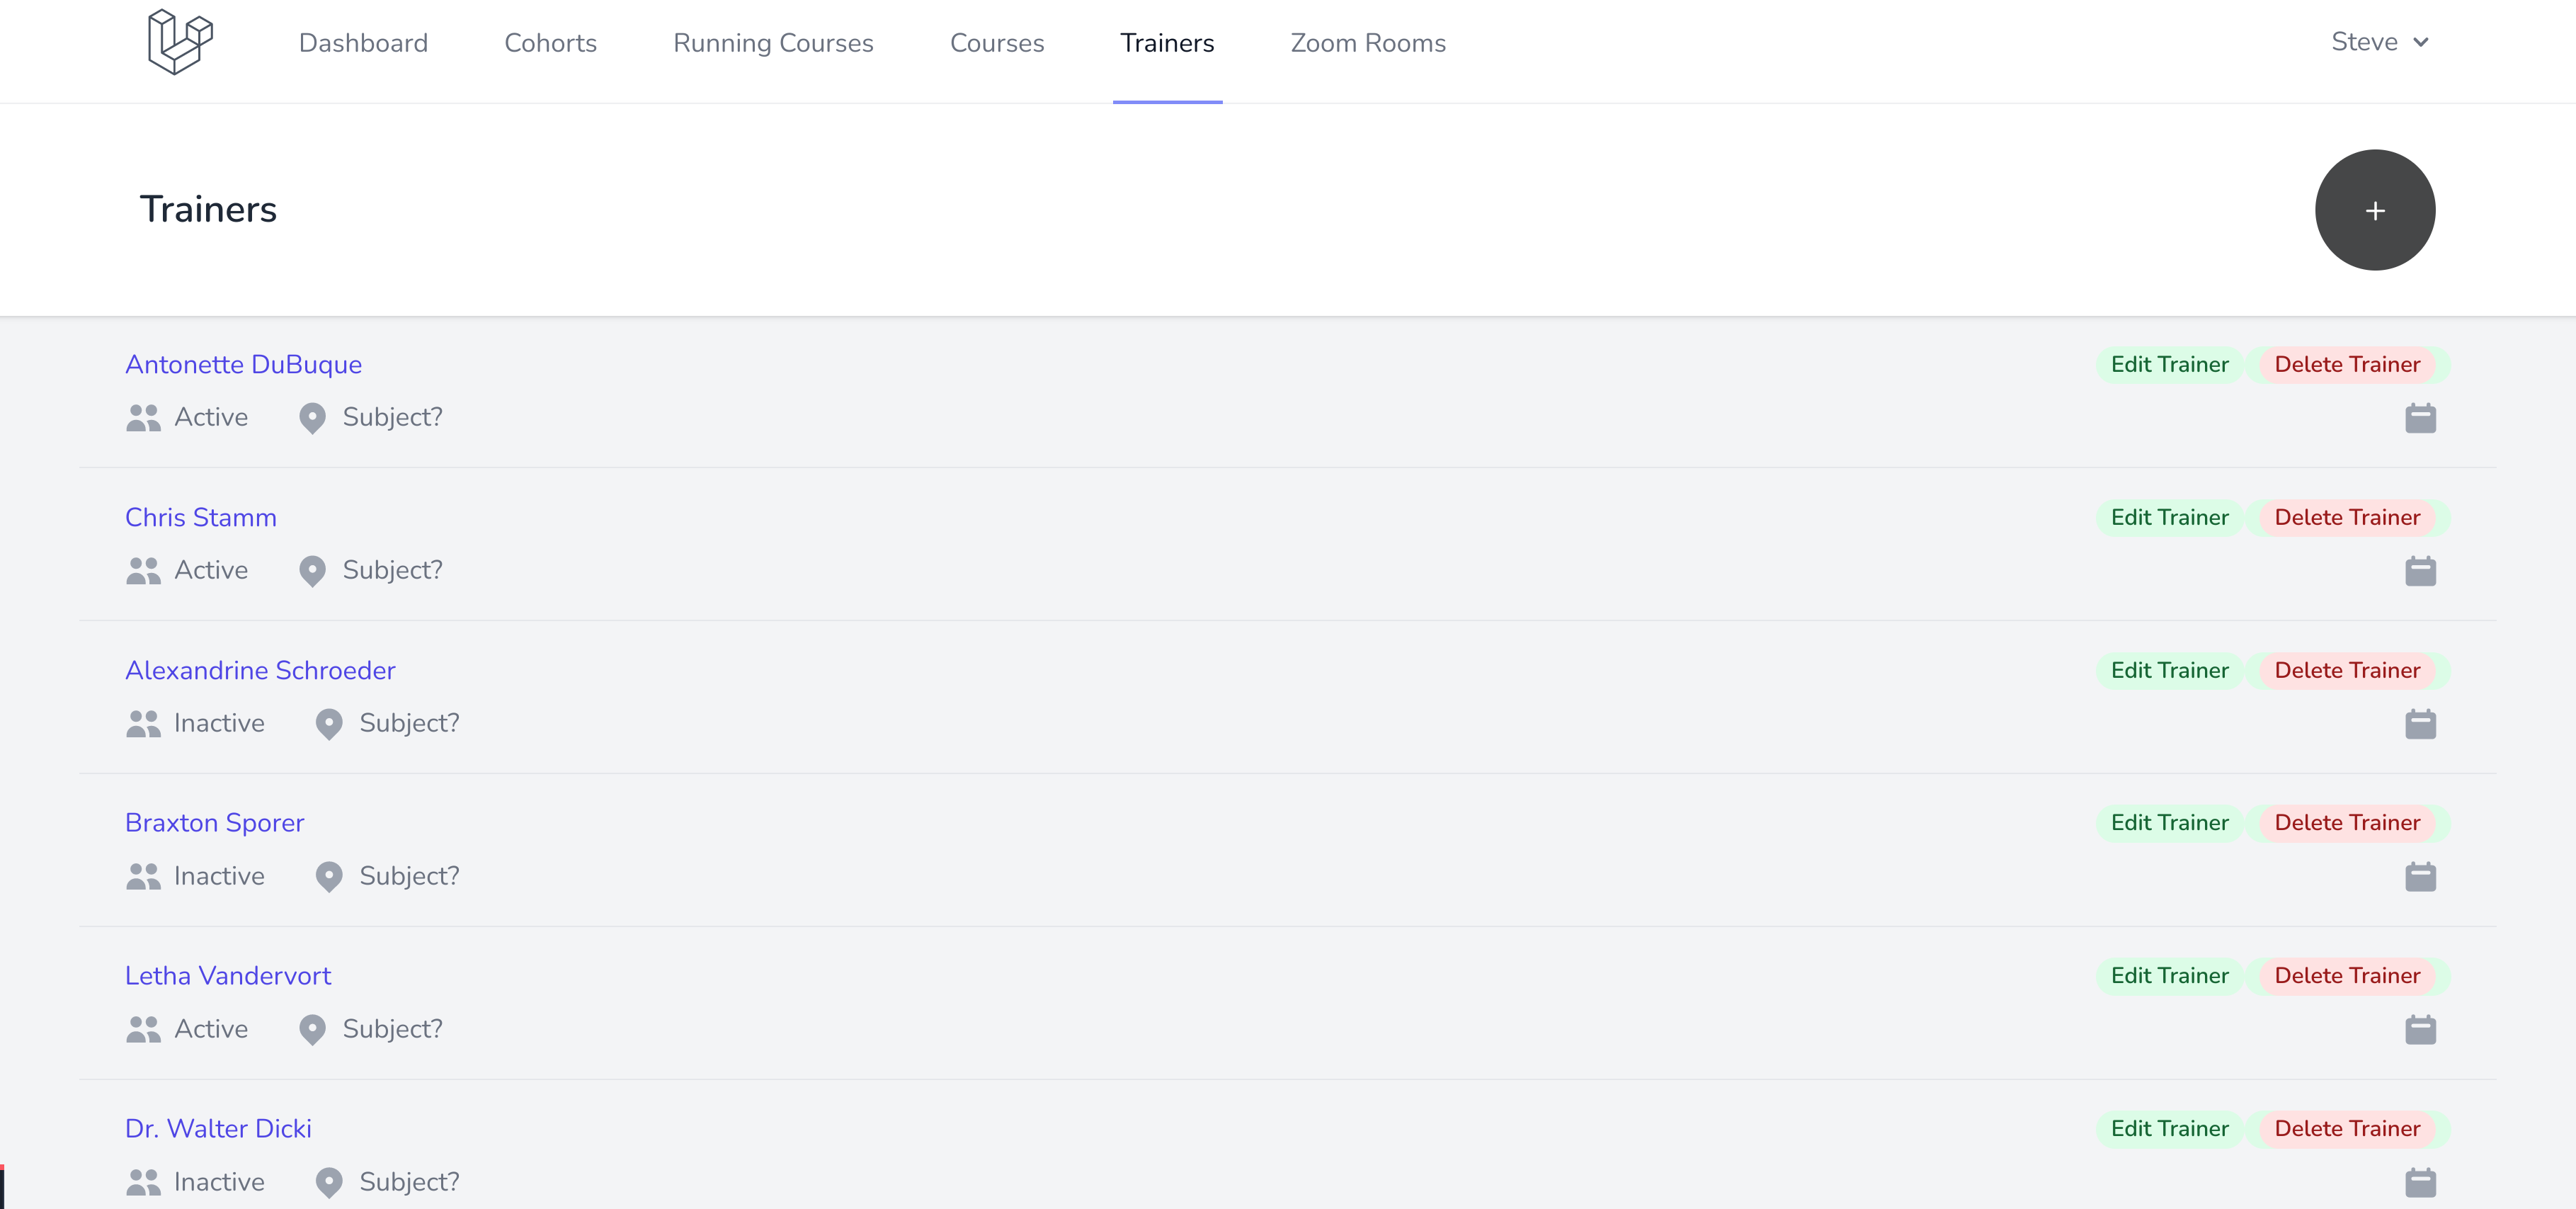
I'm pleased to say I've got a working application, with CRUD functionality working as expected for courses, cohorts, sessions, trainers and zoom rooms. I have also been able to get instances of courses, with sessions assigned to an instance.


For those interested in following, and more for me to keep my thoughts in track - here's a roadmap of changes I'll be putting in the application:
There will be so much more than this, as i feel this could develop in time into a full learner management system, but for now this seems like a good roadmap!
I hope you enjoyed this article, and keep up to date! Should you wish to get in touch, please use the form below!

We’d love to hear from you! Send us a message using the form opposite, or email us. We’d love to hear from you! Send us a message using the form opposite, or email us.